
[ad_1]
The C: drive is where most of us store most of our important data. If you only have one drive, the C: drive contains the Windows installation files, user documents, videos, and images folders.
All these files tend to hog up a lot of space. But, if you frequently notice that the C: drive on your computer fills up repeatedly, it may be a deeper issue that you should fix using the information listed below.
1. Scan for Malware
Computer viruses are one of the most common perpetrators behind unusual storage use on your hard drive. Thus, the first step you should take after noticing a C: drive storage issue is scanning for malware.
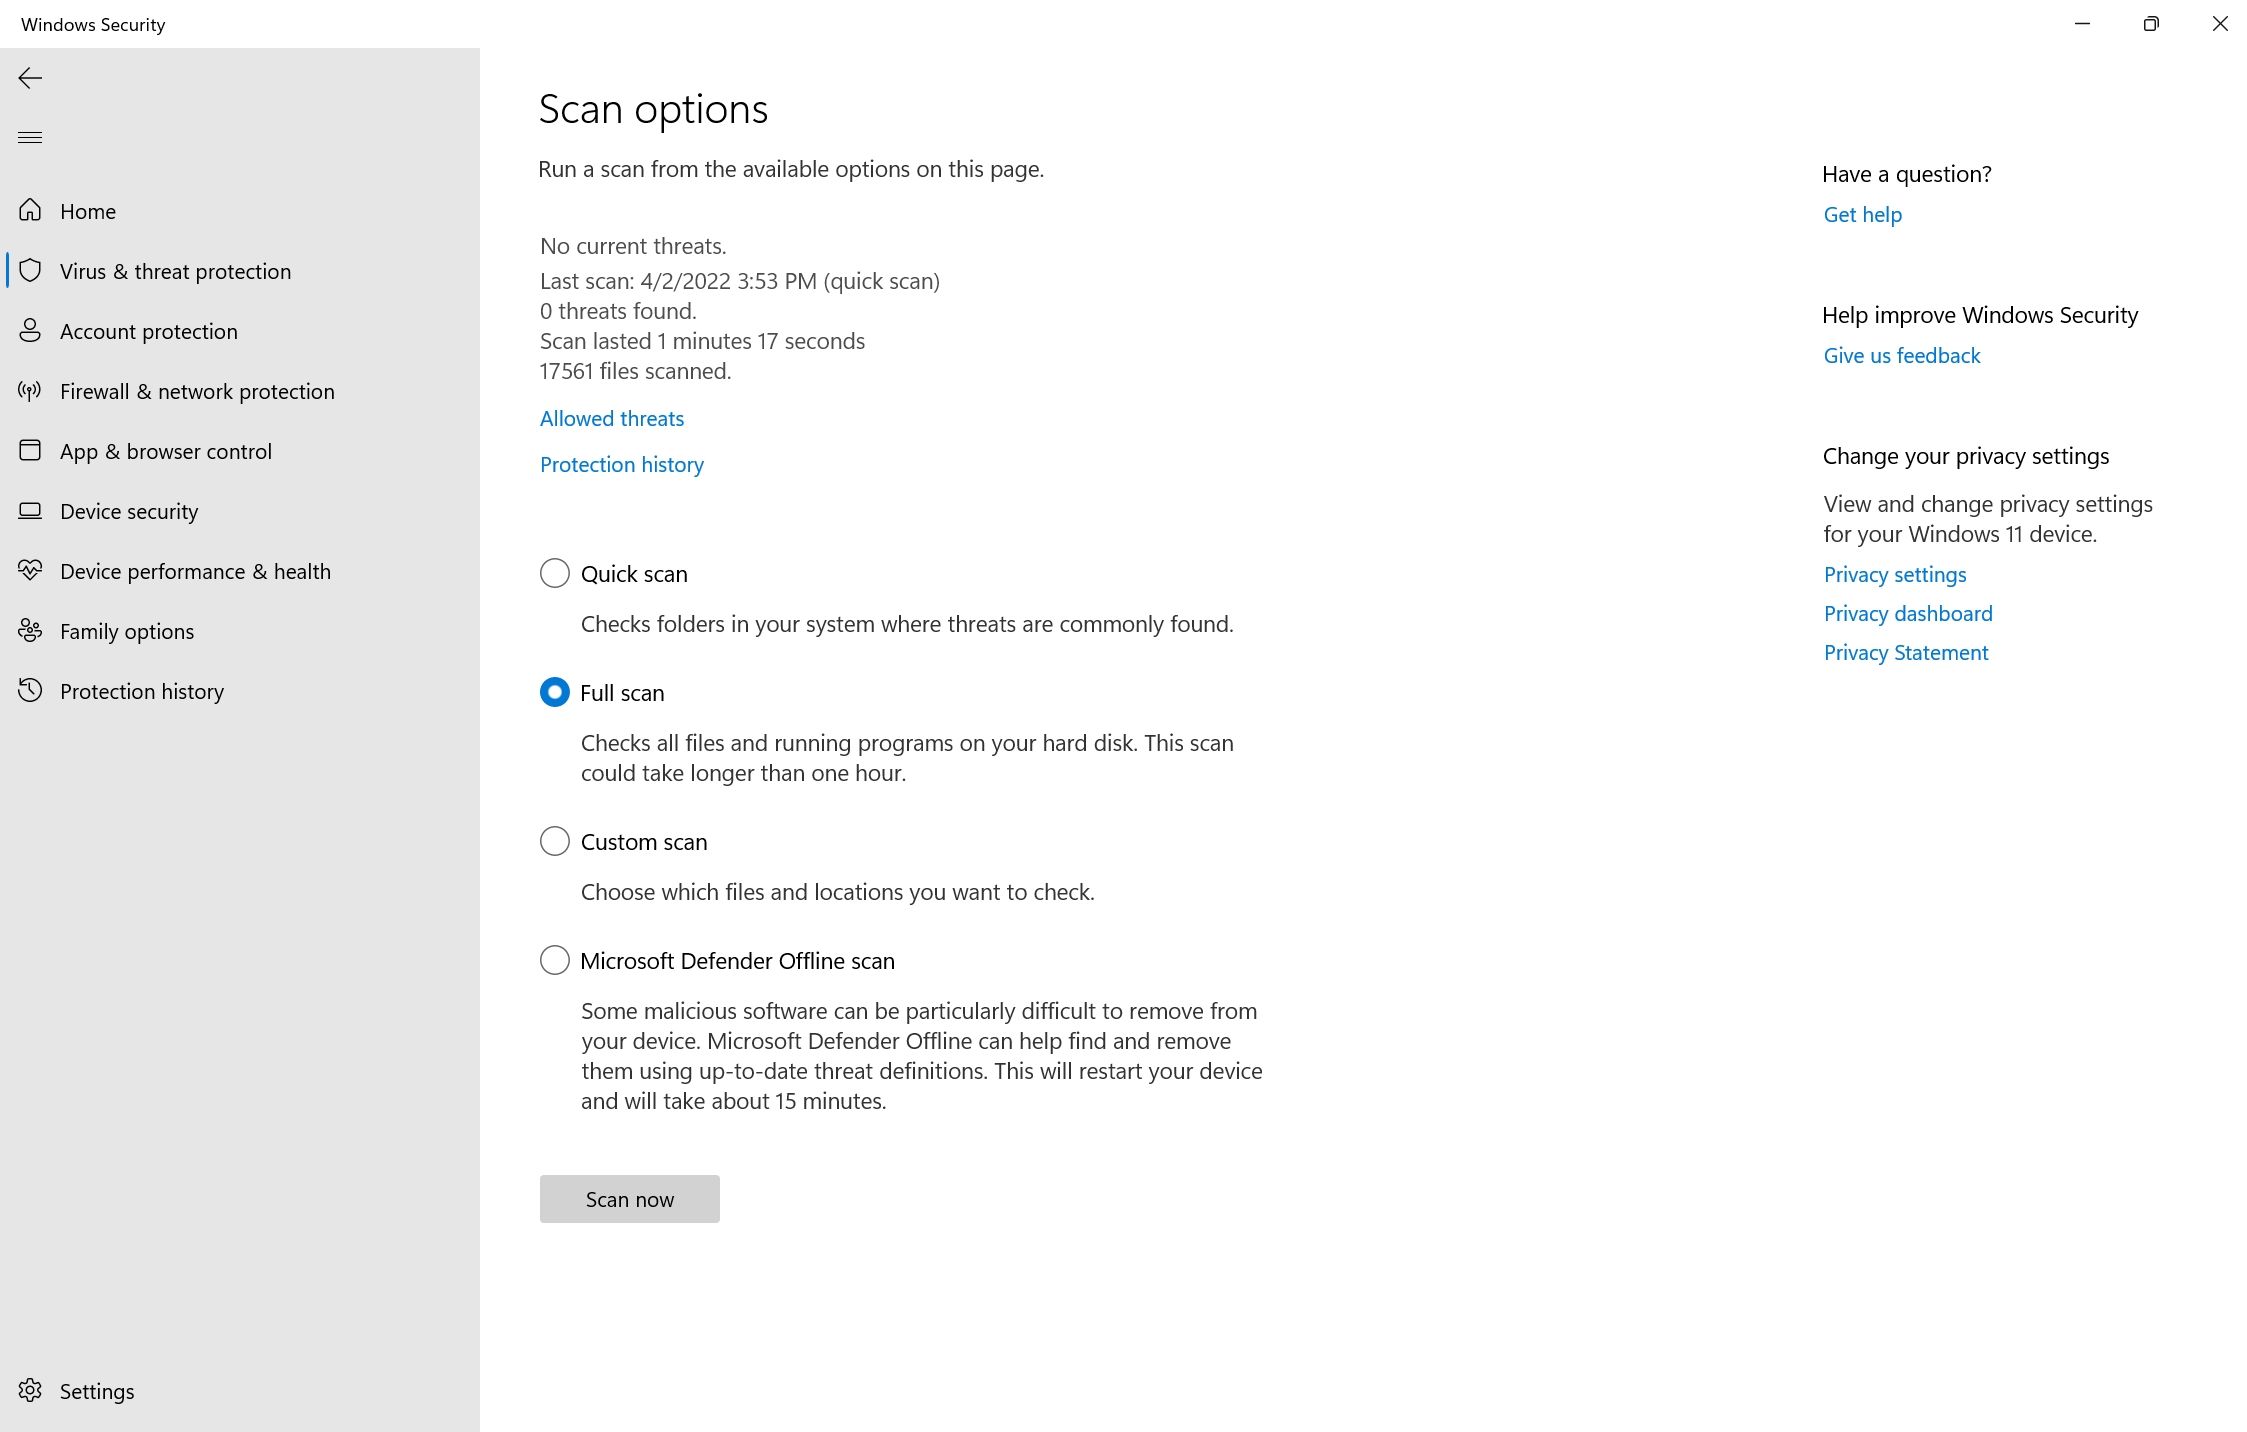
Windows has an in-built antivirus program, called Windows Defender. For a lot of users, Windows Defender does the job well and provides adequate protection against all types of PC malware. While it has real-time protection, you should perform a full system scan to detect any hidden malware on your computer:
- In the Start menu search bar, or Windows Search, type Windows Security.
- Click on the Windows Security app from the results. It can be recognized with a shield icon.
- On the next screen, click on Virus & threat protection.
- Under Current Threats, click Scan options.
- On the next scree, ensure that the Full Scan option is selected.
- Click on Scan now.
- Wait for Windows to finish scanning the computer for viruses.
While the scan is in progress, you may notice a slowdown in your computer. It’s recommended you postpone any resource-intensive tasks until the scan is over. An antivirus scan is one of the many steps you should take when you discover malware on your computer.
Additionally, if you have third-party antivirus software, you can perform a full scan by opening the application’s dashboard (usually located in the System Tray) and proceeding from there. The exact method differs across different antivirus vendors.
2. Run Disk Cleanup
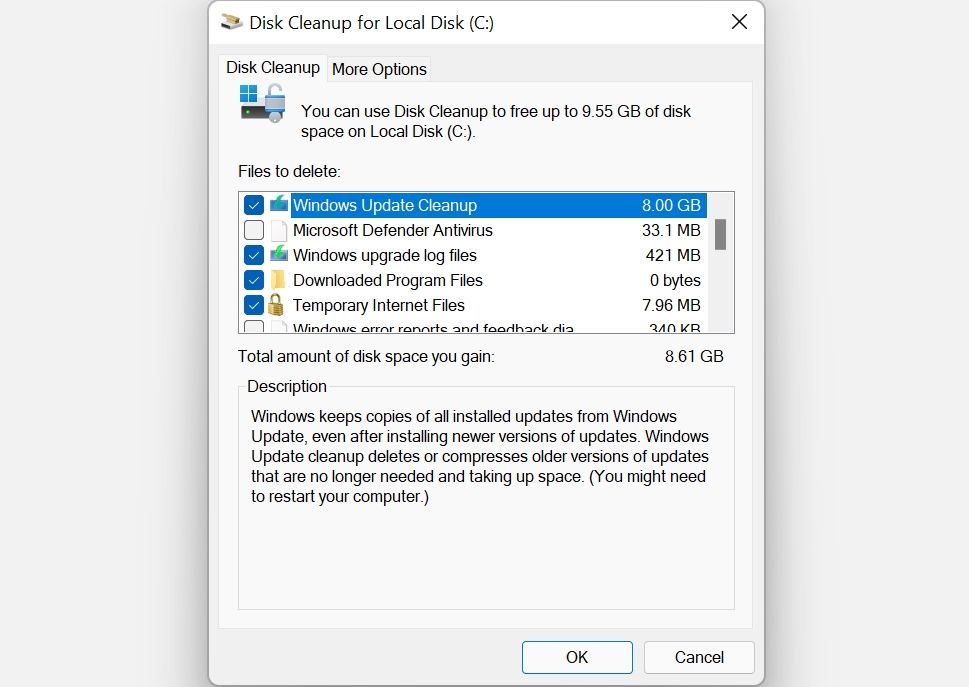
You may be surprised by the amount of space temporary files, such as thumbnails and previous Windows updates, can take up on your computer. To easily get rid of these, you can make use of a Windows utility, called Disk Cleanup.
- Type Disk Cleanup in the Start menu search bar or Windows Search.
- Right-click on Disk Cleanup > Run as administrator, from the search results.
- Select Local Disk (C:) from the disk selection menu and click OK.
- Under Files to delete, check options such as temporary internet files, thumbnails, and previous Windows installations and updates. Note that you won’t be able to roll back Windows updates if you check the Windows Update Cleanup option.
- Click on OK.
- In the next prompt, click on Delete files.
- Wait for Disk Cleanup to do its job.
It may take a while for Disk Cleanup to finish removing all your data, especially if you installed a new version or reinstalled Windows 10 again.
3. Use CHKDSK to Find File System Errors
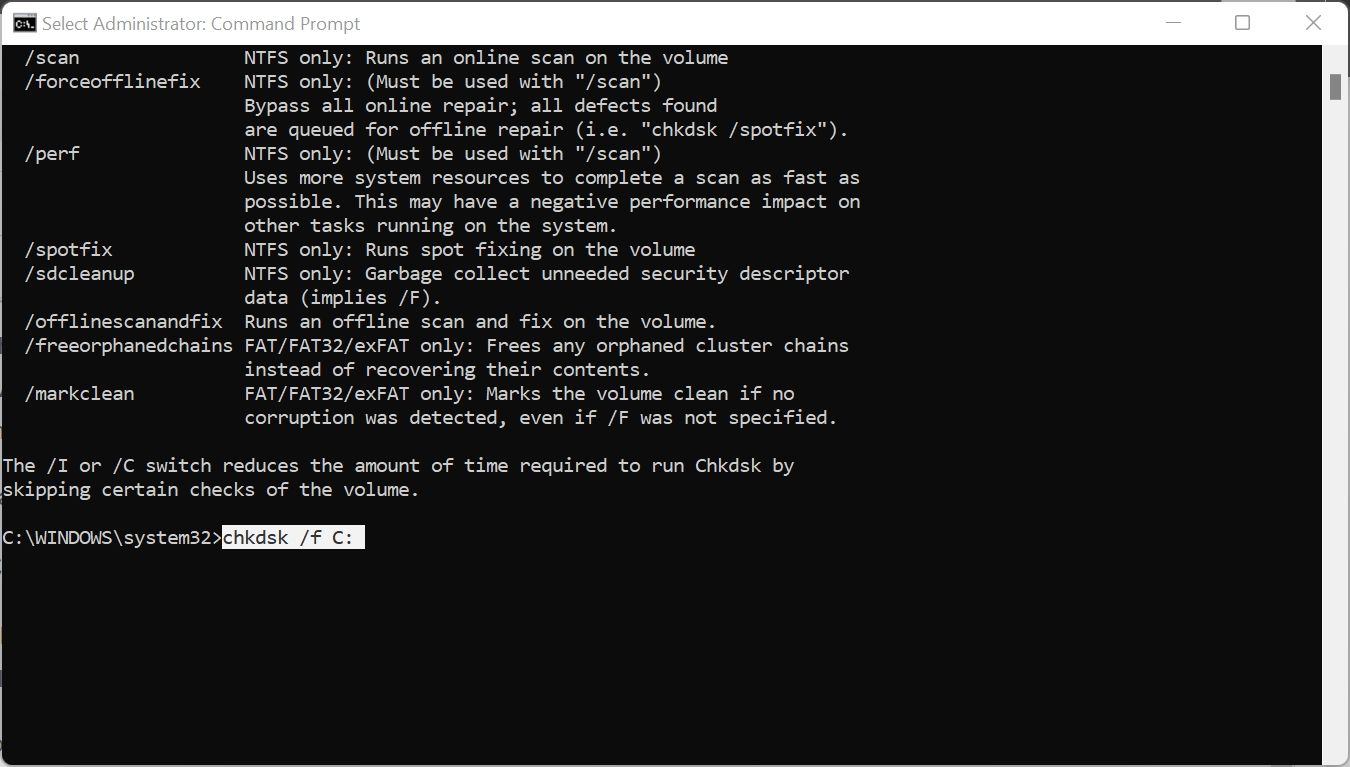
Logical errors on your HDD can cause all sorts of malfunctions on your hard disk drive (HDD). This includes the incorrect reading of free disk space and storage allocation issues. To fix this, you can perform a CHKDSK scan using Windows Command Prompt or the Local Disk (C:) properties menu. CHKDSK is a Windows utility that scans and fixes logical errors in your HDD.
CHKDSK is one of the many troubleshooting utilities in Windows 10, and it differs from other functions such as SFC and DISM.
How to Run CHKDSK Using Command Prompt
- Type cmd in Windows search.
- Right-click on Command Prompt > Run as administrator.
- In the CMD console, enter chkdsk C: /f and press Enter.
- CHKDSK will scan the C: drive for any errors and automatically fix them upon detection.
- Restart your computer after the scan is complete.
How to Run CHKDSK Using Properties
- Open File Explorer using the Win + E shortcut.
- Navigate to This PC.
- Right-click on Local Disk (C:).
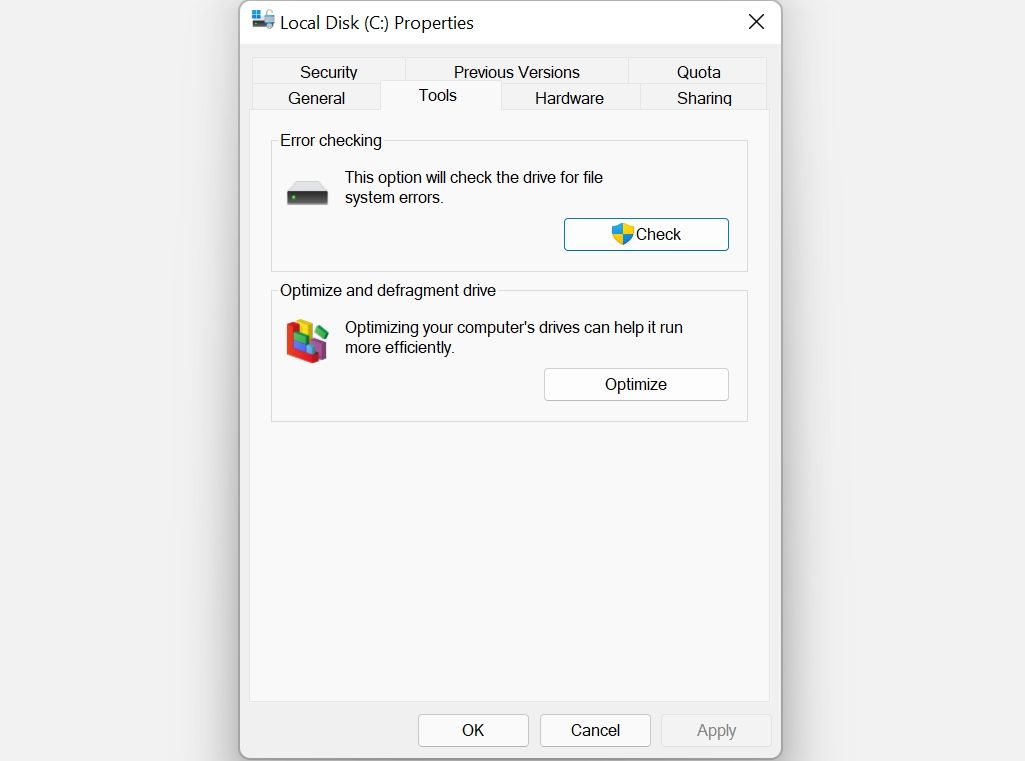
- Click on Properties.
- Now, click on the Tools tab.
- Under Error Checking, click on Check. You will need administrative privileges to go through with the scan.
- Click on the Scan Drive option when prompted.
4. Manage Your System Restore Points
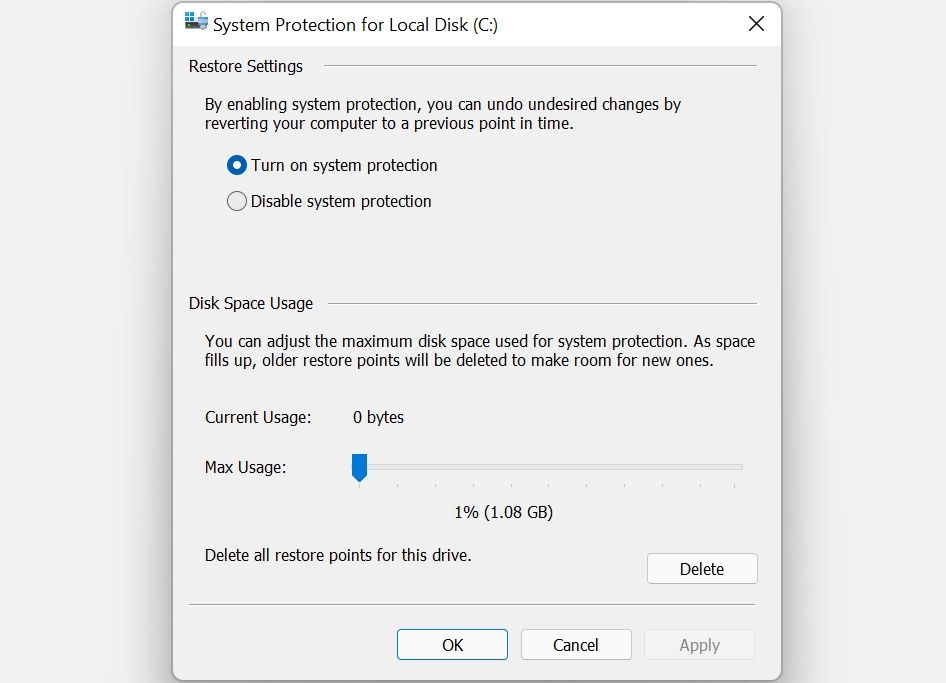
System Restore is an important Windows feature, as it allows you to restore your computer to a previous state in case you encounter errors or other problems. But, System Restore Points can take up a lot of space on your PC, depending upon how you’ve configured System Restore.
To adjust the space that System Restore points take up, follow these steps:
- Type System Restore in the Start menu search bar or Windows Search.
- Click on the Create a restore point option from the search results.
- Select Local Disk (C:) under Available Drives.
- Click on Configure.
- In the next window, adjust the Max Usage slider to the left.
- Click on OK.
- Select Local Disk (C:) under Available Drives.
- Click on Configure.
- In the next window, adjust the Max Usage slider to the left.
- Click on OK.
Alternatively, you can delete irrelevant System Restore points to free up additional space on your computer.
5. Extend the C: Partition
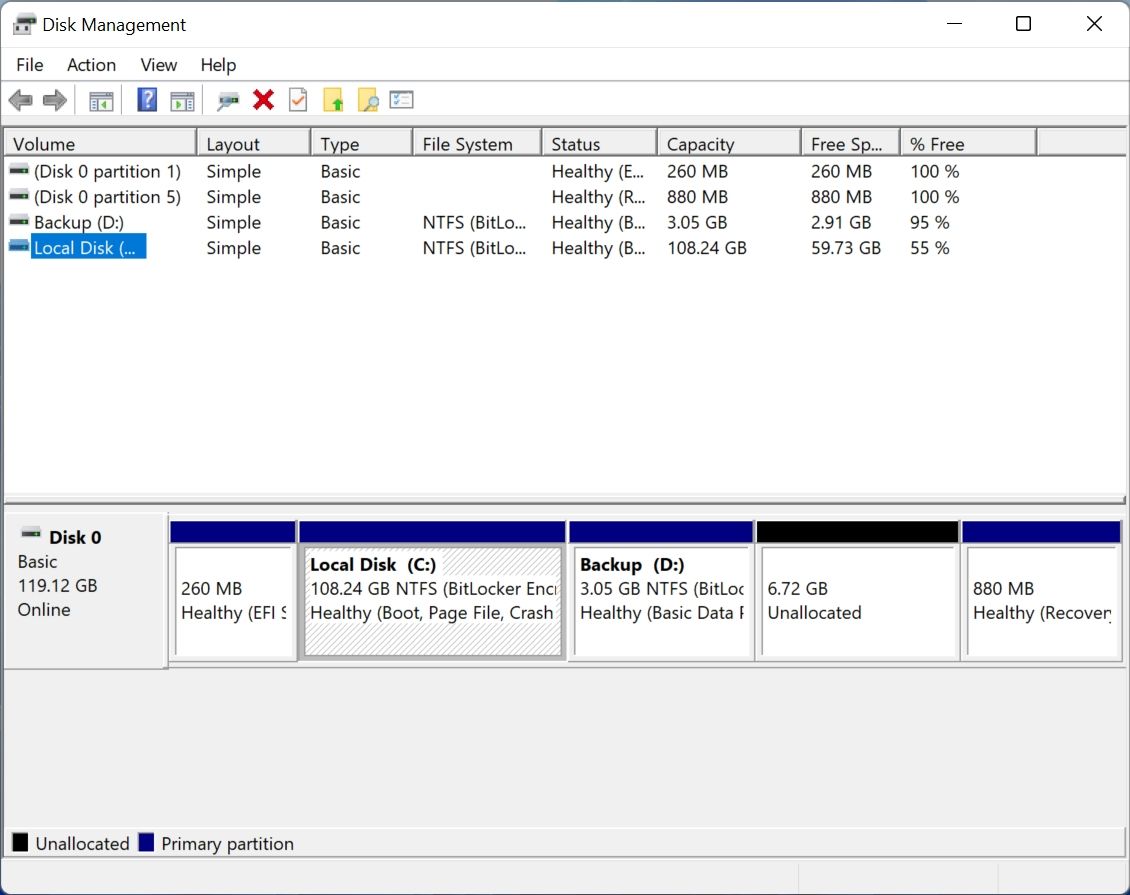
If you’re sure that the storage issue on your computer is not the result of malware or any other errors, it may be worth extending the storage space on the C: partition. Of course, this is only possible if you have multiple partitions on your computer, or if there is unallocated space available.
All these operations can be performed using Disk Management:
- Press Win + R to open the Run application.
- Type diskmgmt.msc in the text box, and press Enter.
- On the Disk Management window, right click on Local Disk (C:).
- Click on the Extend Volume option. If it is grayed out, it means there is no unallocated space available on your storage device. To unallocate space from another partition, right-click the partition in Disk Management and select Shrink Volume. Then enter the amount of space you want to unnallocate.
- In the Extend Volume Wizard, click Next.
- Now, adjust the amount of space you want to add to the C: drive using the Select the amount of space in MB option.
- Click Next.
- Click Finish.
Storage Space Problem Resolved
The fixes listed above should resolve the C: drive filling up issue easily. However, you can avoid this from happening in the first place by preventing malware attacks and configuring System Restore properly. Additionally, you should maintain an effective backup schedule that will allow you to delete files that are not needed, without having to worry about retrieving them later.
Read Next
About The Author
Click Here For The Original Source.
————————————————————————————-