
Virtual Private Networks (VPNs) are a mainstay of internet privacy—offering anonymity and the ability to disguise your location. With servers around the world, commercial VPN providers allow you to access geoblocked content by making it appear that you are in a country where that content is allowed. A VPN protects your privacy by altering your IP address, making it more difficult to associate your online activity with your real identity.
Creating your own VPN on a virtual private server is easier than you think!
Why Create Your Own VPN?
If you’re tech-savvy, you may want to create your own VPN just because you can. It’s good to make things yourself, and being the person in charge of your own security and privacy can be empowering.
When you set up your own VPN server, you control everything about it—its physical location, its technical specifications, the cost, and the level of security and privacy you need.
How to Choose a VPS Provider to Host Your Own VPN
While it is absolutely possible to host your own VPN at home, the security and privacy benefits are limited. Every time you visit a website, they will be able to see your router’s IP address, and link any activity back to your household. As the VPN is in the same country as you, a home-based VPN will not help you to access geo-restricted content.
To access geo-restricted content, and to keep your own IP private when you visit websites, you need your VPN to be located somewhere else—preferably in a different country.
Virtual Private Servers (VPS) are computers which are hosted in datacenters around the world. By renting a VPS, you get a full system you access and control via a secure shell (a shell is a tool which allows you to input commands and run text-based programs).
If you rent a VPS, you can install the software which will let you run your own VPN.
The prerequisites are minimal: you need a credit card (or crypto), and some technical know-how, or at least the willingness to learn. If you’re not sure that you have the necessary skills, you should consider using a commercial VPN, and learn about the best VPNs compatible with Windows 11.
There are many VPS providers available. Here are some things you need to consider when choosing one.
Server Location

No VPS provider offers servers in every country on earth, and many are limited to a few major territories. If you are setting up your own VPN in order to bypass geo-restrictions, you need your VPS to be a region where the content you want to access is already legally available.
If you plan to use your VPN to hide your identity and location online, but otherwise use the internet as you usually would, a VPS in the same country as you would be a good idea.
Make sure you know where you want your VPN to be based and select a VPS provider with servers in that area.
Support
Who do you turn to when things go wrong or you can’t connect to your VPS? Your provider should be easy to contact with issues, and have an in-house help-desk run by experts who know what they’re talking about.
Limitations
Think about how much traffic you will be pulling through your VPS-based VPN. Most providers will have usage caps for data, as well as maximum speeds which are well below what you would get from your naked router or from a commercial VPN.
Security, Privacy, and Logs
If you’re setting up a VPN to keep your own identity and activity secret, it can be uncomfortable knowing another company has access to your real identity and may know everything that you do on your machine.
You should check your provider’s privacy policy, and look for whether they keep access logs, connection logs, or any other kind of logs.
Make sure that your provider offers Two-Factor-Authentication (2FA); 2FA has its pros and cons, but if anyone gains access to your virtual machine, they may be able to alter it or run malware without your knowledge.
Price and Value
Virtual Private Servers vary wildly in price. A good but basic VPS from Digital Ocean with 16GB Ram and 8CPUs costs around $100 per month. A low-end box from Racknerd with 512MB RAM and one CPU will cost under $10 per year.
Ignore the RAM and CPU—a VPN will run flawlessly on a VPS with 128MB RAM—what you should be looking at is the transfer limit. The Racknerd deal is limited to 500GB per month, while the Digital Ocean VPS offers 6TB, 12 times as much!
Work out how much data you’re going to be transferring, and choose accordingly.
Remember, commercial VPNs do not usually have any transfer limits at all.
Build Your Own VPN on a Linux Virtual Private Server
After you have chosen a provider, selected a location, and paid for your VPS, pick Ubuntu as the operating system (an Ubuntu server has very low overheads and is very stable), and you will be given an IP address and a root password. Congratulations! You now have access to a Linux server. You will be connecting to the server by Secure Shell Protocol (SSH). If you do not know how to do this, read through our guide to using SSH on Windows, Mac, and Linux.
To connect to your VPS type:
ssh root@Your.server.ip.addressWhen prompted, enter the password.
Having root access enabled on a Linux system is dangerous from a security point of view, so you will need to create a new user and grant it additional rights.
useradd -m new_usernameThis will create a new user.
passwd new_usernameAnd that will allow you to set a password. Note that when typing a password, there will be no on-screen acknowledgement that you have pressed a key.
Grant your new user sudo powers so that you can actually get things done by typing:
usermod -a -G sudo new_usernameNow, type:
exitYou will be returned to your client machine and need to log back in as the new user:
ssh new_username@Your.server.ip.addressYou will also need to install some basic utilities:
sudo apt install zip unzipThen:
sudo apt install -y Setting up Algo VPN on your Linux VPS
Rather than installing all the software components one at a time, you will be using Algo VPN, a set of scripts to simplify the setup of a personal WireGuard and IPsec VPN. Full details are available over at GitHub.
You should pay particular attention to the disclaimers, especially, “Does not claim to provide anonymity or censorship avoidance.”
If you’ve read the documentation and you’re happy to proceed:
wget https:This will download the package. Now:
unzip master.zipThat will extract it to a new directory: algo-master.
Navigate to the new directory:
cd algo-masterAnd enter the following command:
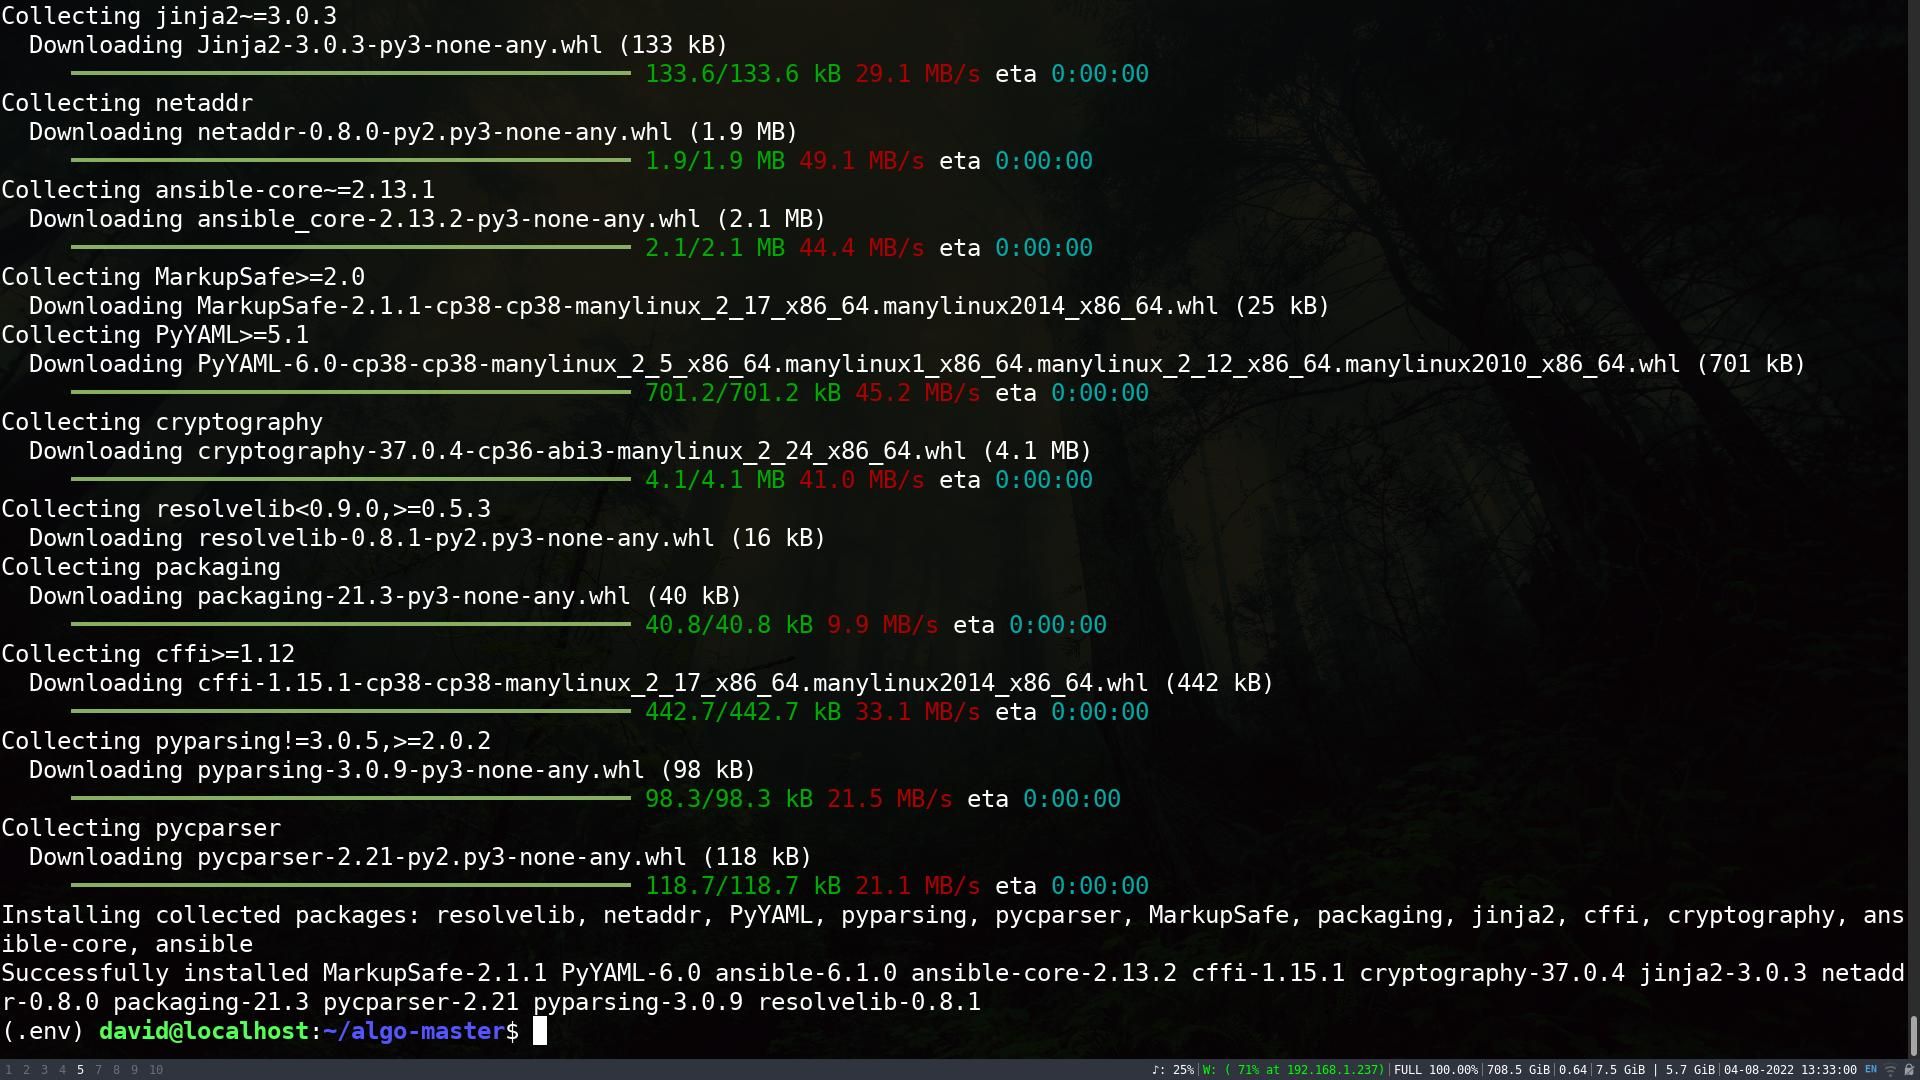
python3 -m virtualenv --python="$(command -v python3)" .env && source .env/bin/activate && python3 -m pip install -U pip virtualenv && python3 -m pip install -r requirements.txtInstallation and set up will take around five minutes (or longer if you opted for a bargain-basement VPS), so take the opportunity to make a cup of tea or walk the dogs. Eventually, you will be returned to the input prompt.
By default, Algo has three pre-set users. These are: phone, laptop, desktop, and you can have up to 65,534 users in total.
To edit the users or add new ones:
nano config.cfgIn the users section, alter or add entries. Usernames with leading 0’s or containing only numbers should be escaped in double quotes, e.g. “000david” or “123.”

Save the file with Ctrl + o and exit with Ctrl + x.
Now it’s time to actually deploy the server, so type:
./algoAt the first prompt, “What provider would you like to use?”, input 12 and press return.
The remaining prompts are largely down to personal choice, such as: “Do you want macOS/iOS clients to enable “Connect On Demand” when connected to cellular networks?” “Do you want to enable DNS ad blocking on this VPN server?”
One important question is, “Do you want to retain the keys (PKI)?” Choosing to retain the keys will allow you to add users to your VPN in the future, but in some extreme cases can be less secure. Again, this is up to you and your own threat perception values.
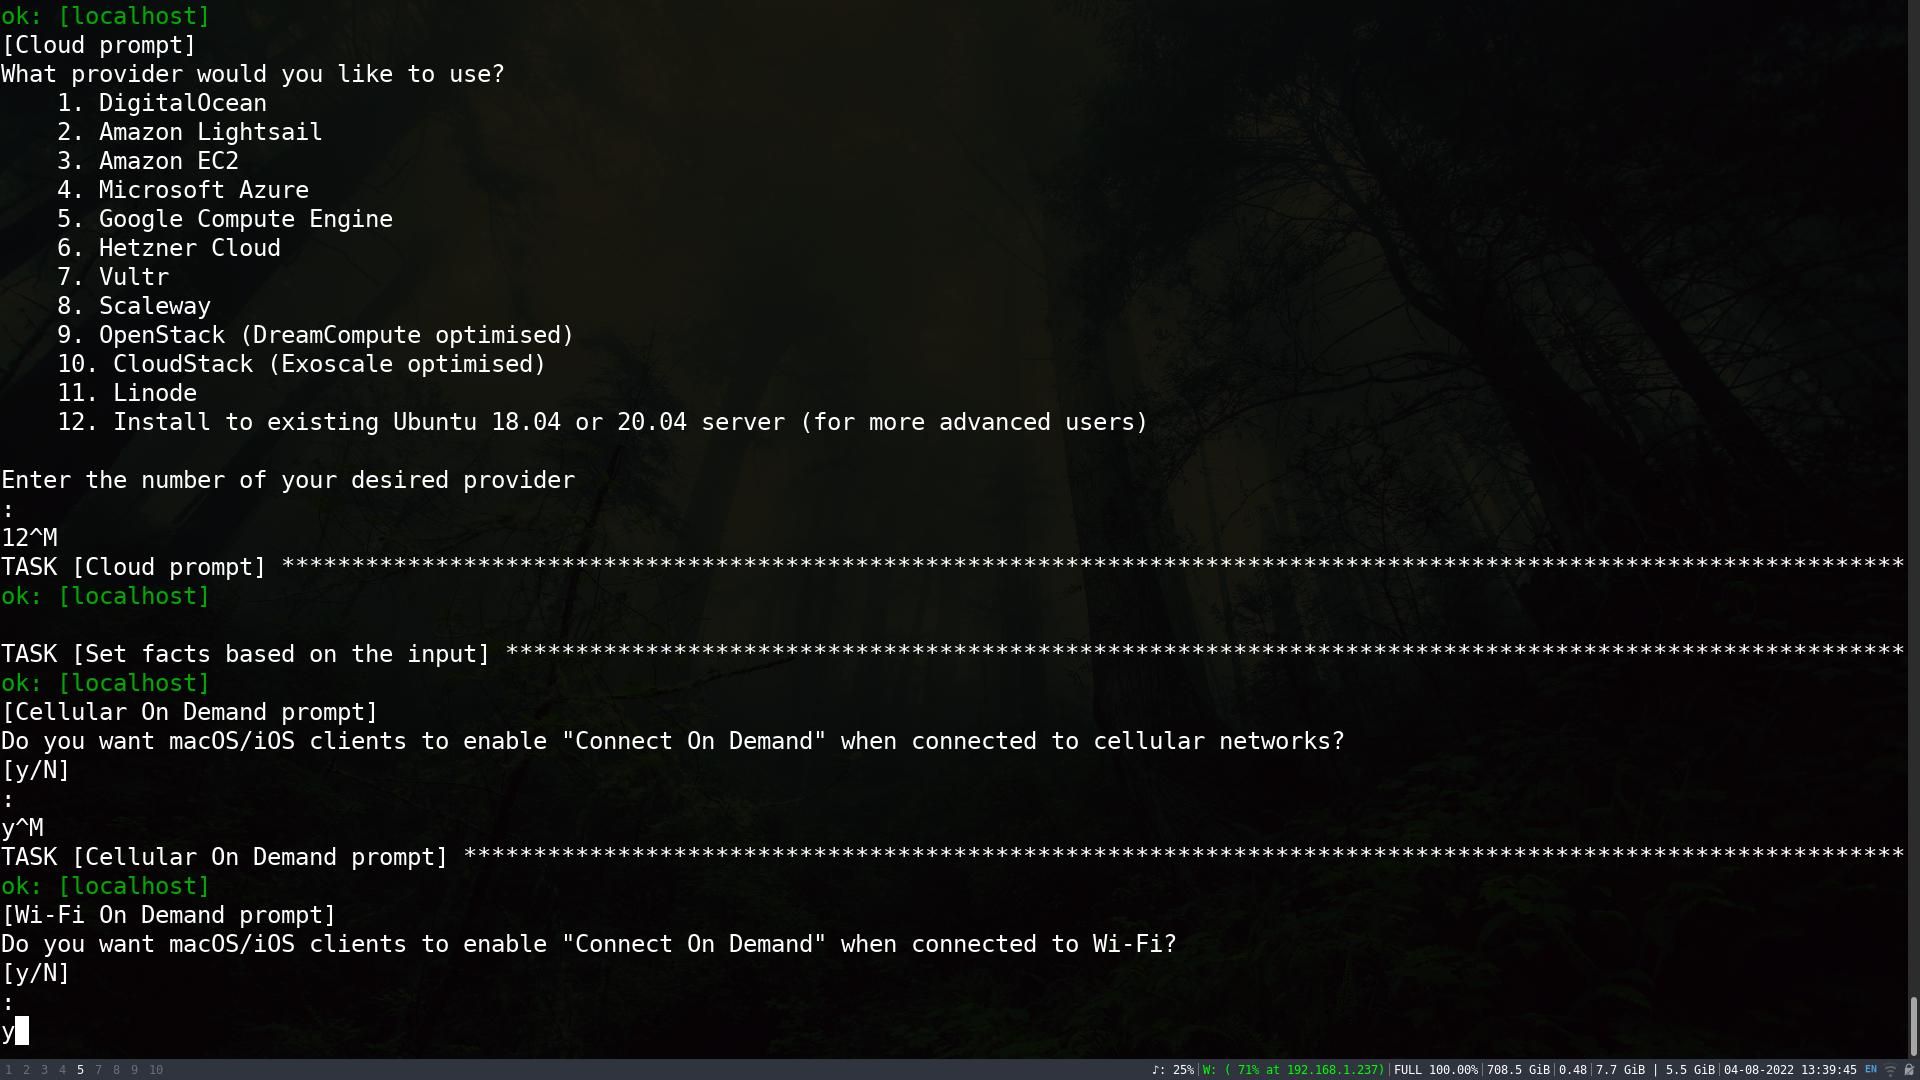
Once the installation is complete, you will see a message reading, “Congratulations!, your Algo server is running”.
You Can Now Set Up and Connect to Your Own VPS-Based VPN!
Setting up your own VPN is quick and easy—especially if you carefully follow our step-by-step instructions. Remember that your VPS provider has access to your real name, location, and payment details. Unlike commercial VPN providers that endeavor to keep law enforcement at bay, VPS providers will hand over information when requested. Don’t do anything illegal!
Click Here For The Original Source.
————————————————————————————-